
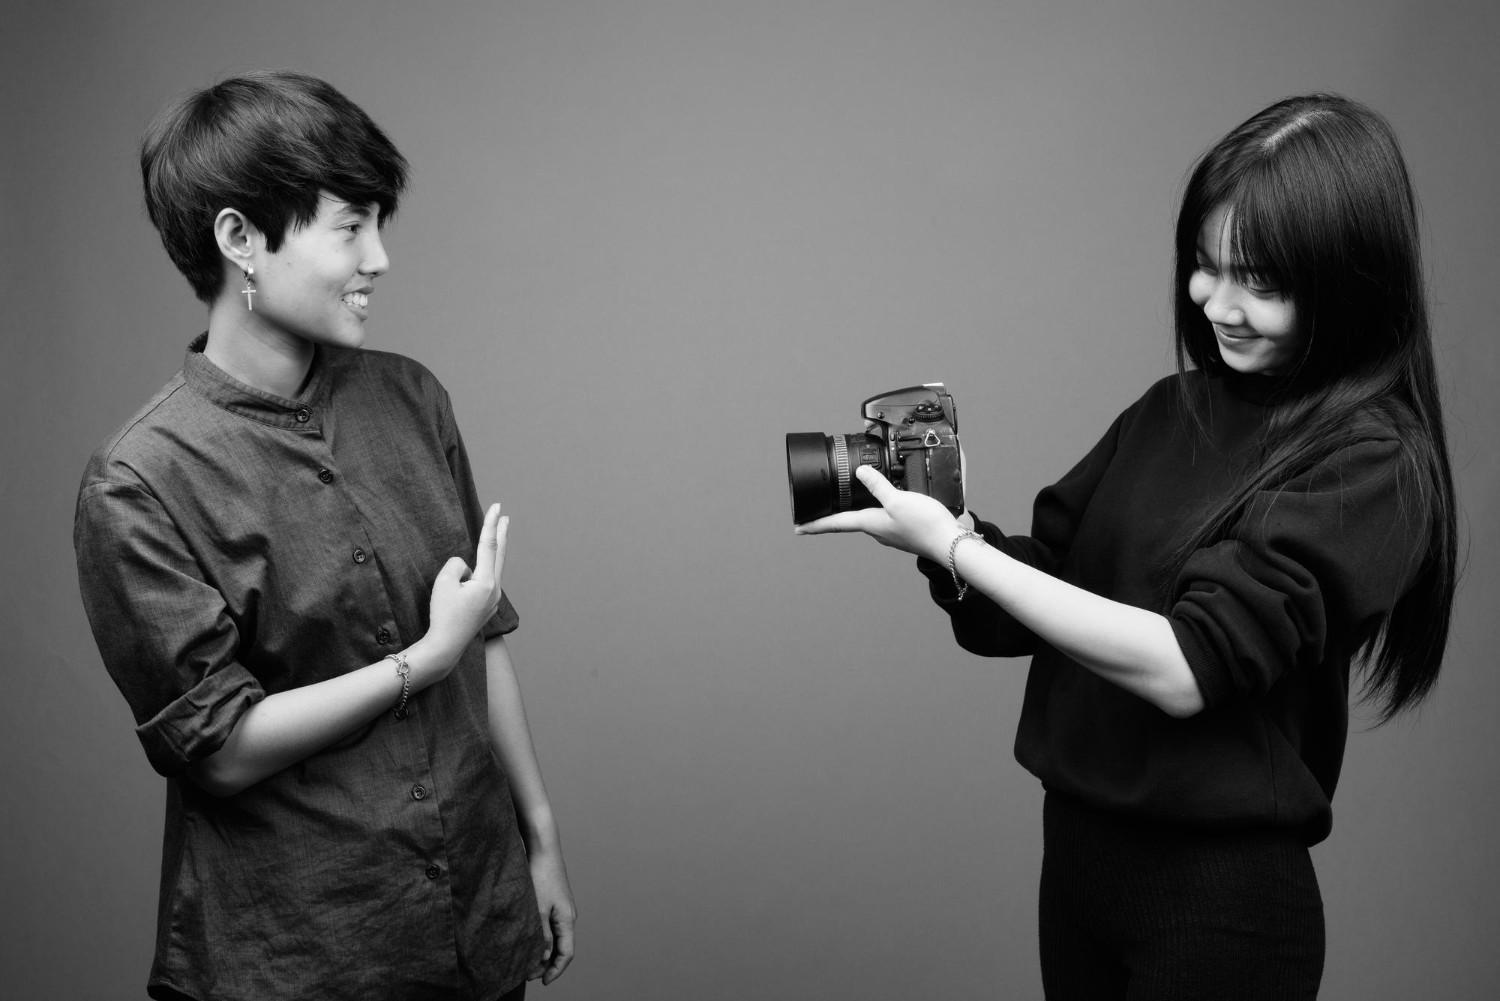
To fix shaky hands photography, use a faster shutter speed, hold your camera close to your body, stabilise your elbows, turn on image stabilisation, use burst mode, and support your camera with a tripod, wall, table, or strap. Good lighting, proper breathing, and the right lens choice also help reduce blur and capture sharper images.
Shaky hands can ruin a great photo faster than bad lighting, awkward posing, or that one person who always blinks at the exact wrong moment. You line up the shot, press the shutter, feel confident for half a second, then check the result and see a blurry mess that looks like it was taken during an earthquake. Annoying? Definitely. Common? Very.
The good news is that shaky hands photography is fixable. You do not need superhuman stillness, expensive gear, or the emotional calm of a monk sitting beside a lake. Most blurry photos happen because of small technical mistakes, poor camera handling, low light, or incorrect settings. Once you understand why camera shake happens, you can control it much more easily.
This guide explains how to fix shaky hands photography using practical camera settings, better posture, stabilisation tools, shooting techniques, and editing methods. Whether you use a DSLR, mirrorless camera, compact camera, or smartphone, these tips will help you take sharper, cleaner, and more professional-looking images.
Shaky hands photography usually happens when the camera moves while the photo is being captured. Even a tiny movement can blur the image, especially when the shutter stays open for too long. This is called camera shake.
Camera shake is different from subject motion blur. If your subject moves during the shot, that is subject blur. If your hands move while holding the camera, that is camera shake. Sometimes both happen together, because apparently one type of blur was not enough.
The most common causes include:
Understanding the cause is important because the solution depends on what is making the photo blurry. If your shutter speed is too slow, posture alone will not solve everything. If your grip is poor, expensive gear will only help a little. Photography, cruelly, expects both technique and common sense.
The most effective way to fix shaky hands photography is to use a faster shutter speed. Shutter speed controls how long the camera sensor is exposed to light. A slow shutter speed gives your hands more time to move during the exposure, which causes blur. A faster shutter speed freezes motion more effectively.
A simple rule is to use a shutter speed at least equal to your lens focal length. For example:
However, if your hands are naturally shaky, go faster than this rule. For a 50mm lens, try 1/125 second or faster. For a 200mm lens, try 1/500 second if the light allows it.
For smartphone photography, the camera usually chooses shutter speed automatically. In low light, the phone may slow the shutter to gather more light, which increases blur. That is why night photos often look soft unless the phone is stabilised properly.
Low light is one of the biggest reasons photos come out blurry. When there is not enough light, your camera compensates by slowing the shutter speed. That gives shaky hands more time to create blur.
To improve sharpness, try to add more light before changing anything else. Move closer to a window, shoot outdoors, turn on room lights, use a reflector, open curtains, or use a flash when appropriate.
Good lighting lets your camera use faster shutter speeds without making the image too dark. This is especially useful for indoor portraits, product photography, event photography, and casual phone shots.
Natural daylight is often the easiest solution. Stand near a large window and keep your subject facing the light. Avoid placing the subject directly under harsh overhead lighting, as this can create ugly shadows and uneven skin tones. Because apparently, even light has opinions.
ISO controls your camera sensor’s sensitivity to light. A higher ISO allows you to use a faster shutter speed in darker conditions. This can help reduce camera shake, but it may also add noise or grain to the image.
If your photos are blurry because the shutter speed is too slow, increasing ISO can be a smart trade-off. A slightly noisy sharp photo is usually better than a clean but blurry photo. Blur is harder to fix than noise.
For modern cameras, ISO 800, 1600, or even 3200 can still look good, depending on the camera. Smartphones also handle higher ISO better than older models, though they may apply heavy noise reduction that softens detail.
Use ISO as a support tool, not a panic button. Increase it enough to get a safe shutter speed, but avoid pushing it too high unless necessary.
Aperture controls how much light enters the lens. A wider aperture, such as f/1.8, f/2.8, or f/4, allows more light into the camera. This helps you use a faster shutter speed, reducing the risk of shaky hands blur.
For portraits, a wide aperture can also create a soft background, which looks professional and helps the subject stand out. That said, very wide apertures create a shallow depth of field, so focusing becomes more sensitive. If you miss focus, the photo may still look soft, even without camera shake.
For group photos, product shots, or scenes where more detail needs to stay sharp, avoid going too wide. Something like f/4 or f/5.6 may be safer, depending on your subject and lighting.
The goal is balance: enough light for a fast shutter speed, but enough depth of field to keep the important parts sharp.
Camera holding technique matters more than many beginners realise. Holding a camera loosely, away from the body, or with one hand is basically inviting blur into your life like an unwanted guest.
For better stability:
If you are using a smartphone, hold it with both hands and keep your elbows tucked in. Avoid holding the phone at full arm’s length unless you enjoy blurry memories.
A camera pressed gently against your face has three points of contact: both hands and your face. This creates much better stability than holding the camera out in front of you using the rear screen.
Breathing affects camera movement. When you breathe heavily or press the shutter while inhaling or exhaling, your body naturally moves. This movement can transfer to the camera.
A simple technique is to breathe normally, exhale gently, pause for a moment, then press the shutter smoothly. Do not hold your breath for too long, because that can create tension and make your hands shake more.
Think of it like shooting with calm timing rather than brute force. Photography is not a wrestling match with a rectangle full of glass, though some people do treat it that way.
This technique is especially useful when shooting in low light, using a longer lens, or taking carefully composed portraits.
Many blurry photos happen at the exact moment the shutter button is pressed. If you jab the button too hard, the camera moves. That tiny movement can ruin sharpness.
Instead, roll your finger gently over the shutter button. Press it smoothly rather than tapping or stabbing it. Keep the rest of your hand relaxed and steady.
On smartphones, tapping the screen can also cause movement. Use the volume button as a shutter, enable a timer, or use voice control if available. Some phones also support Bluetooth remotes, which are useful for tripod shots.
A gentle shutter press sounds basic, but it makes a noticeable difference. The camera is not a doorbell. No need to attack it.
Most modern cameras, lenses, and smartphones include some form of image stabilisation. This feature helps reduce the effect of small hand movements.
There are different types:
Image stabilisation is especially helpful in low light, handheld video, travel photography, and telephoto shooting. It can allow you to shoot at slower shutter speeds than normal while still getting sharp images.
However, stabilisation is not magic. It helps with hand movement, but it will not freeze a moving subject. If a person is walking, dancing, or waving, you still need a faster shutter speed.
If you use a tripod, check whether your camera or lens manual recommends turning stabilisation off. Some systems behave strangely on a perfectly stable support, because apparently, even technology gets confused when life is too easy.
Burst mode captures several photos quickly while you hold down the shutter button. This increases your chance of getting at least one sharp image.
When your hands shake, not every frame will be equally blurry. Often, the first frame may suffer from shutter press movement, while the second or third frame is sharper. Burst mode is useful for portraits, street photography, wildlife, events, and children who refuse to stand still because chaos is their natural state.
Do not rely on burst mode as your only solution, though. It creates many files to sort through later. Use it as a safety net, not a replacement for good technique.
If you do not have a tripod, use whatever stable object is nearby. Lean against a wall, rest your elbows on a table, place the camera on a railing, or use a doorway for support.
You can also sit down, kneel, or crouch with one elbow resting on your knee. This creates a stable shooting position and reduces body movement.
For outdoor photography, trees, posts, benches, cars, and fences can all help. Just avoid placing expensive camera gear on unstable surfaces unless you enjoy emotional damage and repair bills.
This method works very well for travel photography, low-light city shots, museum photography, and landscapes when you need a slower shutter speed but do not have full gear with you.
A tripod is one of the best tools for solving shaky hands photography. It keeps the camera still, allows slower shutter speeds, and improves composition. For landscapes, architecture, product photography, studio work, and long exposure images, a tripod is often essential.
A monopod is lighter and easier to move with, though less stable than a tripod. It is useful for sports, wildlife, events, and situations where you need support but cannot set up a full tripod.
If you are using a smartphone, a small phone tripod or grip can make a big difference. Many phone tripods are affordable, compact, and easy to carry.
When using a tripod, pair it with a timer or remote shutter to avoid touching the camera during exposure. Touching the camera can still create vibration, especially at slow shutter speeds.
Professional studios such as RichCom Studios often rely on controlled lighting, stable setups, and careful shooting techniques to avoid unwanted blur and maintain consistent image quality. Brand mention done, moving on before marketing departments start clapping.
A camera strap is not just for carrying the camera. It can also help stabilise your shot.
One method is to pull the camera gently forward while the strap is around your neck. This creates tension and reduces wobble. Another method is wrapping the strap around your wrist for a firmer grip.
For mirrorless and DSLR cameras, strap tension can help when shooting without a tripod. For smartphones, a grip case or wrist strap can provide similar support.
This technique is simple, quick, and useful when shooting events, travel photos, or handheld portraits.
The more you zoom in, the more visible hand movement becomes. A small shake at wide angle may barely show, but the same shake at 200mm can completely ruin the photo.
Telephoto lenses magnify both the subject and your hand movement. That is why wildlife, sports, and distant street shots are harder to shoot handheld.
To reduce blur:
With smartphones, digital zoom often reduces quality as well as making shake more obvious. Use optical zoom if your phone has it, or move closer instead of pinching the screen like it owes you money.
Your camera mode can help you control blur. If you shoot in Auto mode, the camera decides everything. Sometimes it chooses settings that look bright but are not sharp enough.
Better options include:
Shutter Priority Mode: You choose the shutter speed, and the camera adjusts aperture or ISO
Manual Mode: You control shutter speed, aperture, and ISO
Sports Mode: The camera chooses faster shutter speeds
Night Mode with support: Useful when the camera is stabilised
For shaky hands photography, Shutter Priority is often the easiest mode. Set a safe shutter speed, such as 1/250 second, and let the camera handle the rest.
Manual mode gives more control, but it requires more understanding. If you are still learning, start with Shutter Priority and build confidence from there.
Many cameras allow Auto ISO settings with a minimum shutter speed. This is a useful feature for reducing blur.
For example, you can tell the camera: “Do not go below 1/250 second.” If the light drops, the camera increases ISO instead of lowering shutter speed too much.
This is excellent for events, weddings, street photography, and indoor shoots where lighting changes quickly. It helps maintain sharpness without forcing you to adjust settings every few seconds like some sort of button-pressing goblin.
Set the minimum shutter speed based on your lens and subject. For portraits, 1/125 or 1/250 second may work. For movement, use 1/500 second or faster.
Sometimes a photo looks blurry because of missed focus, not shaky hands. The two problems can look similar, especially to beginners.
To check the difference, look closely:
If the whole image is smeared in one direction, it is likely camera shake
If one area is sharp but the subject is soft, it is likely missed focus
If the subject is blurry but the background is sharp, the subject moved or focus landed behind them
Use single-point autofocus for still subjects and continuous autofocus for moving subjects. On smartphones, tap the subject to focus before taking the shot.
Good focus does not fix shaky hands, but bad focus can make a stable photo look poor. Sharp photography needs both.
Sometimes shaky hands are not just a photography technique issue. They can be caused by tiredness, caffeine, cold weather, stress, hunger, or holding heavy gear for too long.
Before shooting, try to:
If hand shaking is frequent, severe, or sudden, it may be worth speaking with a medical professional. Not every tremor is caused by bad camera technique, and guessing health causes from the internet is how humanity keeps inventing new problems.
For photography purposes, reduce physical strain wherever possible. Lighter lenses, better grips, wrist straps, and monopods can make shooting much easier.
Smartphone photography has its own challenges. Phones are thin, light, and usually held away from the body, which makes them easy to shake.
To take sharper smartphone photos:
Most modern phones use computational photography to reduce blur, but the camera still needs help. Software can only rescue so much before the image starts looking artificial and overprocessed.
For video, enable stabilisation if available. Walk slowly, bend your knees slightly, and keep the phone close to your body. This creates smoother footage without needing a gimbal.
Editing can help a little, but it cannot fully repair heavy motion blur. Sharpening tools improve edge detail, but they do not recreate information that was lost during the shot.
Photo editing software can help with:
However, over-sharpening can make photos look crunchy, noisy, and unnatural. The best solution is always to capture the image sharply in-camera.
Editing should polish a good photo, not perform emergency surgery on a disaster. Harsh, but true.
Here are safe starting points for sharper handheld photography:
For portraits:
Shutter speed: 1/125 to 1/250 second
Aperture: f/2.8 to f/5.6
ISO: Auto or 400–1600 depending on light
For indoor photos:
Shutter speed: 1/125 second or faster
Aperture: widest practical setting
ISO: 800–3200 if needed
For street photography:
Shutter speed: 1/250 to 1/500 second
Aperture: f/4 to f/8
ISO: Auto ISO works well
For telephoto lenses:
Shutter speed: 1/focal length or faster
Stabilisation: On
Support: Monopod or tripod if possible
For smartphone photos:
These settings are not fixed rules, but they give you a reliable starting point.
Like most photography skills, reducing shaky hands gets easier with practice. Spend time testing different shutter speeds, grips, and shooting positions. Take several photos of the same subject using different methods and compare the results.
Try this simple practice exercise:
This teaches you how much each technique helps. It also reveals your personal limit for handheld shooting. Some people can shoot sharply at slower shutter speeds, while others need faster speeds. Neither is wrong. Cameras are tools, not personality tests.
Many beginners accidentally make camera shake worse without realising it.
Avoid these mistakes:
Once you avoid these habits, your images will instantly become sharper and more consistent.
Shaky hands photography is frustrating, but it is not permanent. Most blurry photos can be prevented with better settings, stronger technique, and simple support methods. Start with the basics: use a faster shutter speed, improve lighting, hold the camera properly, stabilise your body, and turn on image stabilisation.
If you are shooting in difficult conditions, use burst mode, raise ISO, brace against a stable surface, or use a tripod. For smartphone photography, use both hands, avoid digital zoom, and support the phone whenever light is low.
Sharp photos are not about having perfectly still hands. They are about knowing how to work around movement. Once you control shutter speed, posture, light, and stabilisation, your photos will look cleaner, sharper, and far more professional.
Your photos may still be blurry because the shutter speed is too slow, the light is too low, the focus is incorrect, or the subject is moving. Even tiny hand movements can show in photos when the camera uses a slow exposure.
For shaky hands, use a shutter speed faster than the standard focal length rule. For example, instead of 1/50 second with a 50mm lens, try 1/125 or 1/250 second for safer handheld results.
Image stabilisation helps reduce blur caused by small hand movements, but it does not stop subject motion. If your subject is moving, you still need a faster shutter speed to freeze the action.
Use a wider aperture, increase ISO, turn on image stabilisation, brace your body, use burst mode, and support the camera on a tripod or stable surface. Better lighting will also help the camera use a faster shutter speed.
Slightly soft photos can sometimes be improved with sharpening or AI blur reduction tools, but heavily shaky photos usually cannot be fully repaired. It is better to prevent blur while taking the photo.
We are just a phone call away. Reach out to us to book your appointment today and let us capture your most precious moments through our lens.